Create the Specimen
Sketch the specimen
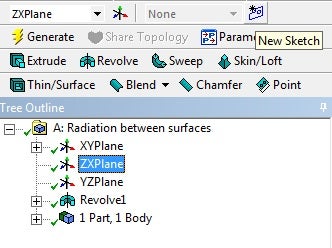
We will create the specimen from the ZX plane. Highlight ZXPlane in the Tree Outline and click on New Sketch:
Click on the Y axis 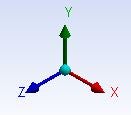 to view the ZX plane.
From the Sketching tab, use the Circle tool to draw a circle centered at the origin. Again, make sure your cursor displays a P near the origin before you begin sketching. Next, use the Line tool to draw two lines along the X and Z axis. We only need to create a quarter of the full sketch to create the 1/8 model. Select the Trim tool and click on any sketch outside the quarter circle enclosed by the lines and the full circle. Use the Radius dimension tool to set the radius of the quarter circle to 4 mm.
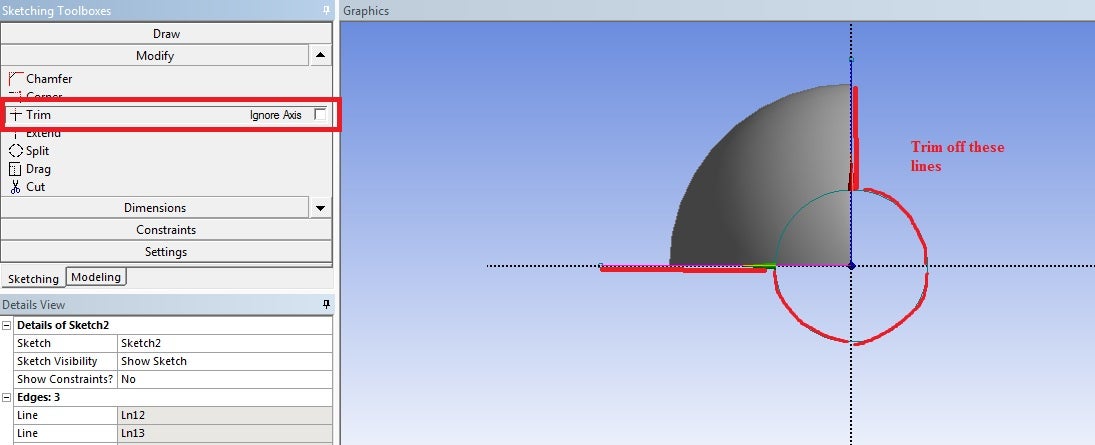
The size of the specimen compared to the shell:
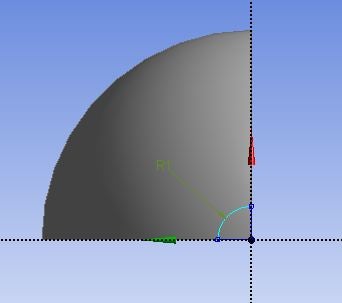
Model the specimen
Click on the Extrude icon and select the quarter circle for the geometry. In the Details of Extrude1 window, set the Depth to 15 mm.

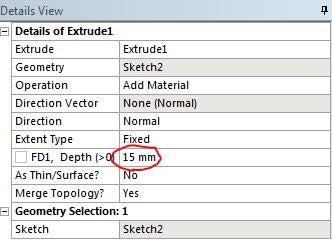
Once everything is specified as above, click Generate. You should see 2 Parts, 2 Bodies in the Tree Outline. Your model should look like the following:

You may now close the DesignModeler and move on to the next step.
