Prepare the Raspberry Pi — Lesson 1
Aim: Set up the Raspberry Pi with the files to run the HMI code generated from Ansys SCADE Display
- Set up Raspberry Pi with a Raspbian image and connect a mouse, keyboard, and display to the Raspberry Pi. Boot the device. The device used for this example is a Raspberry Pi Model 3 B+.
- Connect the Raspberry Pi to a WiFi hotspot with internet access.
- Open the Command Terminal and update the software using the following command:
-
- sudo apt-get update
- Enable SSH on the Raspberry Pi using the following steps:
- Type the following command to open the configurations:
-
-
- sudo raspi-config
-
-
- Select "Interfacing Options" and then Enable "SSH".
- Reboot the system using the following command:
-
- sudo reboot
- Note the IP address of your Raspberry Pi (addressed as <PI_IP_ADDRESS> in the rest of the course) using the following command in the Raspberry Pi Terminal:
-
- ifconfig
This will be needed for us to connect to the Pi. Note that the default username and password are the following:
-
- Username: pi
- Password: raspberry
- Install GCC, Freeglut, and GL libraries on Pi using the following command:
-
- sudo apt-get install gcc freeglut3-dev libgl-dev
1. A. On Windows Host
- Ensure that you have the Raspberry Pi and your host system on the same network with internet access. The example has been created using SCADE 2023 R1 on a Windows 10 system.
- On your host system, navigate to your SCADE install directory and locate the folder called OGLX (a typical location would be: C:Program FilesANSYS Incv231SCADESCADE Display).
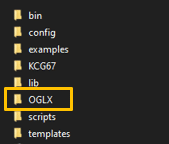
Figure 1a: Location of OGLX file in SCADE installation directory
- Open Windows Command Prompt and navigate to the location of the OGLX folder.
- Copy this OGLX folder to any location on the Raspberry Pi using the following command (the following command copies the OGLX folder on the desktop of the Pi):
-
-
scp -r OGLX pi@<PI_IP_ADDRESS>:/home/pi/Desktop/
-
This step could take 3-5 minutes.
1. B. On Raspberry Pi
- Open the desktop to confirm the OGLX folder.
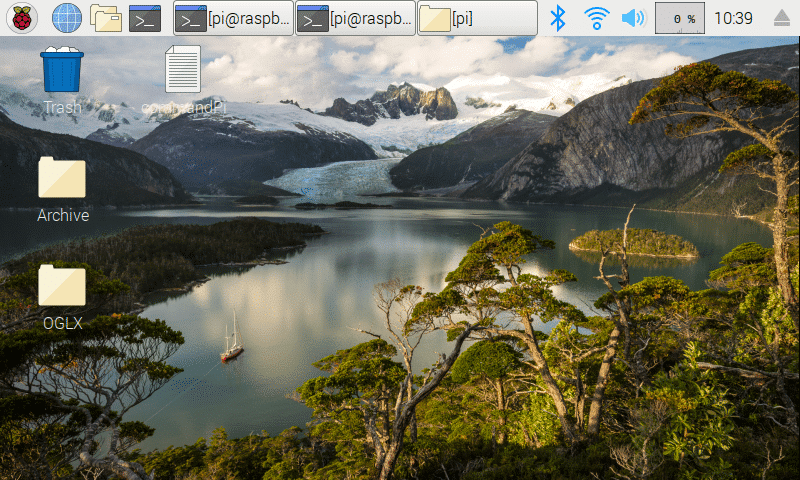 Figure 1b: Location of copied OGLX file on Raspberry Pi
- Ensure it has the following folder structure:
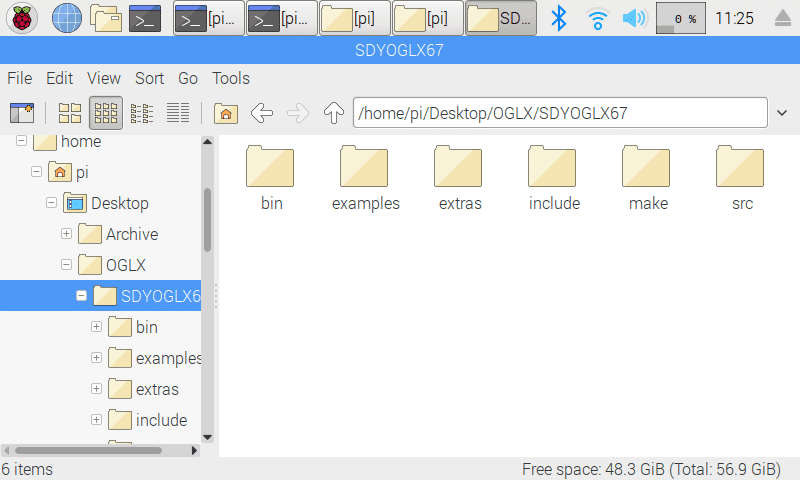 Figure 1c: Folder structure of the SDYOGLX67 folder on Raspberry Pi
- Navigate to make/gnumake folder.
- Clean the directory for any residual generated files using the following command:
-
-
make clean
-
- Run the make file to create a libOGLX.a file created in a new lib folder on the Raspberry Pi. Use the following command:
-
-
make all
-
This command takes some time to run, and you will see something like the following in the command window after it is completed.
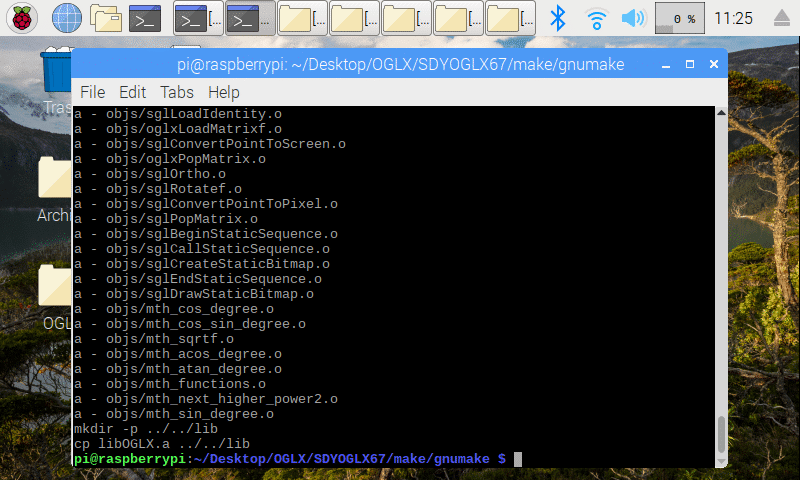 Figure 1d: Successful creation of the libOGLX.a file
- Navigate to the examples folder.
- Create a new folder called PiPFD using the following command:
-
-
mkdir PiPFD
-
- Copy the src folder from the original pfd project to the PiPFD project using the following command:
-
-
scp -r pfd/src PiPFD/src
-
- Navigate to the PiPFD folder and delete the folder code folder (this is to avoid conflict since we will use SCADE Display-generated code in this folder in the upcoming chapters).
- Understand the display resolution for the Raspberry Pi using the following command:
-
-
fbset
-
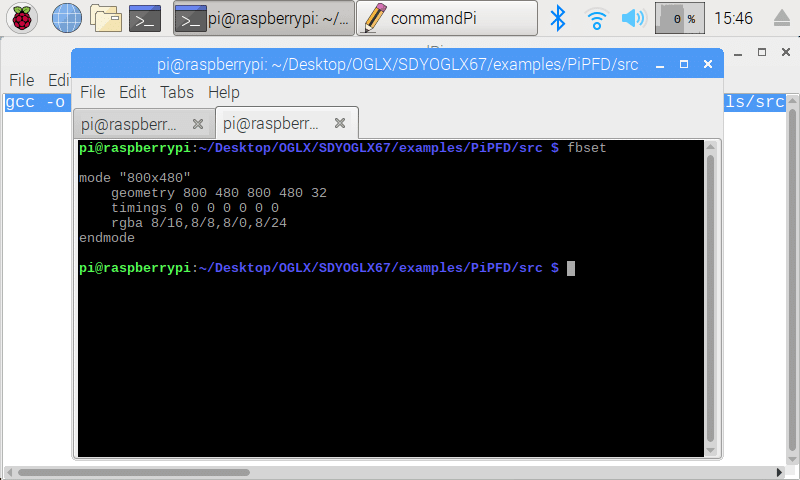 Figure 1e: Snapshot of the screen resolution details connected to Raspberry Pi
Note the resolution. For this hardware, it is 800 x 480.
You are being redirected to our marketplace website to provide you an optimal buying experience. Please refer to our FAQ page for more details. Click the button below to proceed further.